
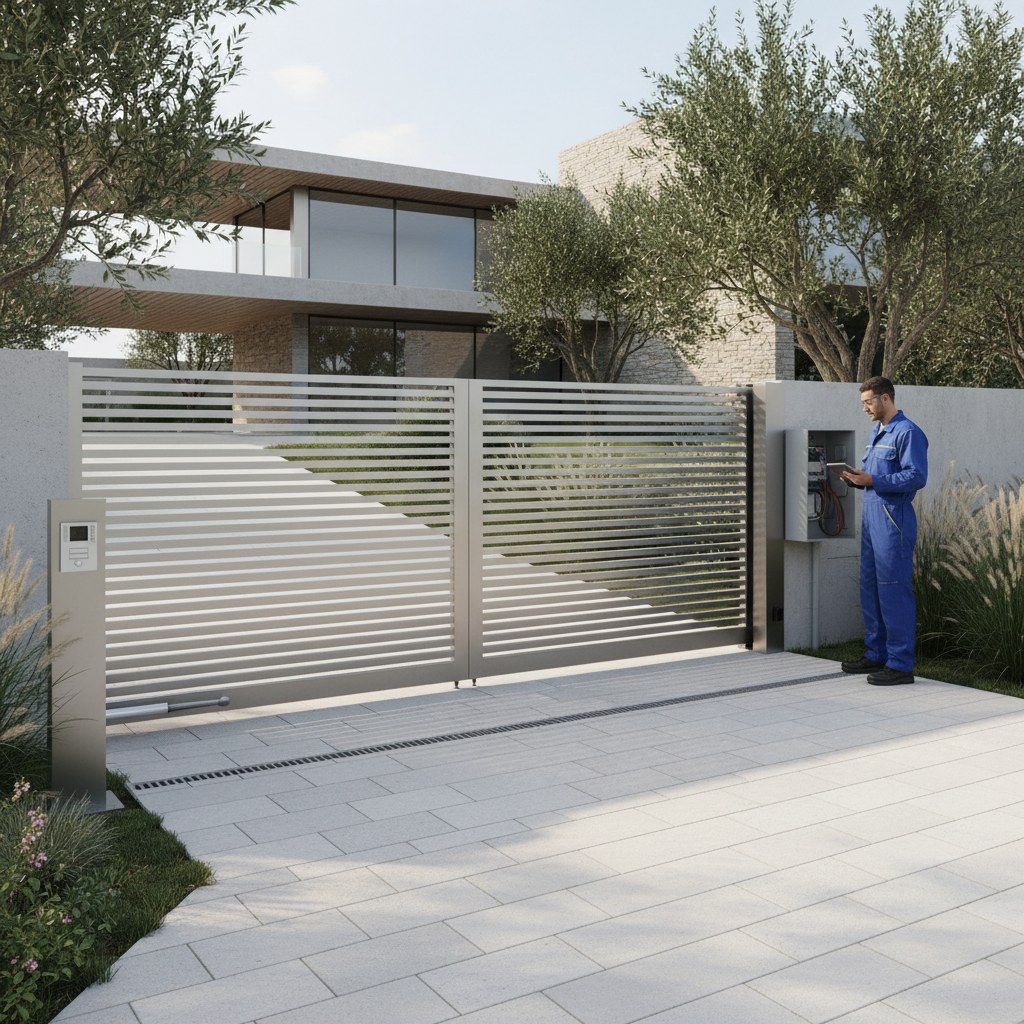

Investing in an automated driveway gate transforms your property. It provides an immediate boost to your home’s curb appeal, creates a secure boundary that keeps out unwanted vehicles, and adds an undeniable layer of modern luxury. However, a premium automatic entry framework is not a plug-and-play appliance. It is a highly tailored, complex construction project that integrates heavy structural engineering, precision masonry, high-voltage electrical distribution, and advanced digital logic control.
For many homeowners, the actual installation process feels like a black box. What kind of foundations are required? How is electricity safely routed down to the street? What legal safety requirements must the system meet?
Whether you are looking to install a brand-new framework or preparing for an extensive property upgrade, knowing what to expect prevents costly scheduling delays, structural failures, and safety oversights. This comprehensive, step-by-step guide walks you through the entire automated gate installation process from the initial architectural design to the final safety calibration.
Phase 1: Pre-Installation Planning & Architectural Design
A successful gate project begins long before any concrete is poured or holes are dug. Skipping this initial blueprinting phase is the primary reason gates fail prematurely or drag on the ground.
1. Choosing the Optimal Gate Style
Your property’s unique terrain, layout, and space constraints will dictate whether you install a swing gate or a sliding gate:
-
Swing Gates: Best for flat driveways with plenty of internal clearance. They require a wide, clean semi-circular clearing inside the property line to swing open freely without hitting parked cars or landscaping.
-
Sliding Gates: The absolute best solution for sloped driveways, short driveways where a vehicle must park close to the property boundary, or tight spaces where a swing arc would block traffic. They roll horizontally parallel to your existing fence line.
2. Zoning Laws, Permits, and HOA Rules
Before purchasing any hardware, you or your contractor must consult local building departments and Homeowners Associations (HOAs). Local ordinances frequently dictate setback requirements—the minimum legal distance your gate must sit from the main public roadway (typically 20 to 30 feet) to ensure a vehicle can pull completely off the street while waiting for the gate to open without blocking oncoming traffic.
Phase 2: Structural Foundations & Civil Engineering
An automated gate is subject to continuous wind loads, thermal shifting, and violent rotational torque from its motor operator. If its supporting pillars or tracks shift even a fraction of an inch, the electronic safety sensors will jam.
1. Setting the Support Posts or Pillars
For a swing gate, the structural support posts bear the entire cantilevered weight of the heavy gate panels.
-
Technicians dig deep footings—often 3 to 4 feet down, stretching well below your region’s winter frost line to prevent ground heaving.
-
Heavy-gauge structural steel posts are dropped into place, leveled perfectly on a three-axis plane, and anchored using high-psi commercial-grade concrete mixes.
-
If you desire ornate brick or stone stone pillars, the structural steel core is set first, and the stone masonry is built directly around it.
2. Pouring the Ground Track (For Sliding Gates)
Sliding gates require a completely flat, structurally solid concrete ribbon footing poured along the entire length of the gate’s travel path.
A galvanized steel V-track is laid down, precisely aligned using laser levels, and permanently anchored into the concrete slab. Any slight dip or bump in this track will trigger the motor’s safety reverse mechanism, rendering the system inoperable.
Phase 3: Mechanical Hardware & Gate Hanging
Once the foundational concrete has fully cured (typically requiring 3 to 5 structural drying days), the physical gate panels can be mounted.
-
Swing Gate Hinging: Heavy-duty, ball-bearing barrel hinges are welded or bolted directly onto the steel support posts. Technicians adjust these hinges until the gate panels balance perfectly. A properly balanced swing gate should sit still when left halfway open; if it swings open or closed on its own, the posts are out of plumb.
-
Sliding Gate Rollers & Guides: The sliding gate panel is fitted with internal v-groove wheels that sit on the ground track. At the top of the fence line, adjustable rubber guide rollers are installed inside a heavy-duty steel stabilization bracket to prevent the gate from tipping over during high-wind storms.
Phase 4: Electrical Infrastructure & Trenching
An automated entryway is a high-powered electrical system. Bringing safe, reliable power down to the edge of your property requires careful coordination.
-
Trenching and Conduit: Installers dig a dedicated trench from your home’s main electrical panel or a nearby outdoor sub-panel out to the gate location. Heavy-duty Schedule 40 PVC conduit pipelines are laid in the trench to safeguard the wiring from moisture, subterranean insects, and accidental shovel cuts.
-
Wiring Infrastructure: Technicians run high-voltage lines (typically 120V or 240V AC) to power the main motor assemblies. Simultaneously, low-voltage shielded communication cables are threaded through completely separate conduits to prevent electromagnetic interference from ruining the signals for your keypads, safety loops, and intercom systems.
Phase 5: Motor Operator & Logic Board Integration
With the physical gate hung and electrical pathways established, the system’s “muscles” and “brains” can be integrated.
Phase 6: System Calibration, Testing, and Compliance
The final phase of a professional electric gate installation revolves around strict safety compliance and field testing. To adhere to international safety standards (such as UL 325 and ASTM F2200), the system must pass rigorous structural compliance criteria.
-
Force Testing: Technicians use specialized digital force-gauge meters to measure the exact amount of physical pressure the gate exerts when encountering an obstruction. The internal motor limit switches are dialed back until the gate safely reverses upon making the gentlest contact with an obstacle.
-
Limit Switch Tuning: The open and close limits are fine-tuned so the gate stops moving exactly where it is supposed to, preventing it from slamming into physical end-stops or running off its tracks.
-
Owner Orientation: A certified installer will walk you through your manual release mechanism, showing you how to bypass the motor with a physical key or lever during a total residential power outage.
Automation Process Summary Matrix
| Installation Stage | Primary Focus | Key Architectural/Structural Requirement | Common Oversight to Avoid |
| 1. Planning & Design | Layout & Legality | Check setbacks (20–30 feet from public road) | Ignoring HOA rules or city easement boundaries |
| 2. Structural Footings | Stability & Support | Concrete piers extending below local frost lines | Pouring shallow slabs that shift during winter |
| 3. Hardware Hanging | Balance & Alignment | Heavy-duty ball-bearing hinges or ground tracks | Gate dragging due to unplumb support posts |
| 4. Electrical Routing | Power Distribution | Dual separate conduits for high/low voltage lines | Running data lines near power lines (creates RFI) |
| 5. Component Integration | Logic & Mechanics | Mount motor operators, safety eyes, and terminals | Skipping photo-eye safety height calibrations |
| 6. Testing & Handover | Safety Compliance | Inherent force reversal calibration (UL 325) | Forgetting to test the emergency manual override |
Frequently Asked Questions (FAQ)
Can I handle an electric gate installation as a DIY project?
It is highly discouraged. Unlike a basic wooden fence, automated gates require advanced competencies across multiple distinct trades, including structural welding, precision concrete masonry, high-voltage electrical wiring, and digital logic programming. An incorrectly installed gate can burn out expensive motors prematurely, warp its frame, or pose severe physical crush hazards to vehicles, pets, and family members.
How long does the entire installation process take?
For a standard residential driveway, the physical on-site installation process typically takes between 3 to 5 business days. This timeline is split across multiple stages to allow foundational concrete footings to cure completely before heavy gate panels are hung and motor mechanical strains are applied.
What kind of regular maintenance will my new system require?
To ensure your system reaches its maximum operational lifespan, you should sweep your ground tracks free of debris weekly, wipe down the optical lenses of your safety photo-eyes monthly, and apply a premium silicone or lithium lubricant to your hinges and drive chains every six months. A comprehensive annual checkup by a certified service technician is also recommended.
Is solar power a viable option for my gate operator?
Absolutely. If your driveway entrance sits hundreds of feet away from your home, trenching high-voltage AC lines through landscaping or asphalt can be cost-prohibitive. Modern high-efficiency solar panels coupled with deep-cycle marine batteries can easily power standard residential operators, provided the location receives adequate direct, unshaded sunlight daily.
What happens if a car hits my automated gate?
If your gate experiences a vehicle impact or severe storm damage, turn off the main circuit breaker immediately to prevent the motor from trying to cycle a warped frame. You will need a professional electric gate repair technician to evaluate whether the motor’s internal drive gears are stripped, realign structural support posts, or reweld broken structural hardware before restoring power safely.
Partner with Perimeter Security Professionals
An automated entry system is a major asset that safeguards your family and elevates your home’s value. Ensuring that every foundation is poured correctly, every wire is insulated properly, and every safety sensor complies with local code parameters requires an experienced, licensed team.
At BMS Electric Gates, we bring years of precision engineering, technical expertise, and custom design craftsmanship to every automated entry project we undertake.
-
Discover our background, certifications, and service philosophy on our about us page.
-
Ready to upgrade your system to a smart-home compatible setup? Browse our comprehensive automatic gate opener services.
-
See if our installation teams operate in your specific neighborhood by reviewing our active service areas.
-
Ready to turn your driveway vision into reality with a detailed project estimate? Contact us today to speak directly with an expert technician!